Size Chart Creation: How Do You Adapt Asian Sizing for Western Markets?
Most brands sourcing from Chinese factories hit the same wall. The factory sends over a size chart. The brand posts it on their store. Returns start coming in. Sound familiar?
Adapting Asian factory sizing for Western markets is not a simple conversion task. It requires the brand to define fit intent, measurement method, and target body type before the first sample is cut. Skipping this step is the most common reason size-related returns happen — and no chart update fixes it after the fact.

This is something we see regularly at BSTAR when working with new EU, US, and AU brand clients during their first sampling rounds. The problem rarely starts at the chart. It starts much earlier — in a conversation that never happened. Let me break down exactly where things go wrong and what you can do differently.
Decoding the Fit Gap: Why Do Asian and Western Body Types Create Sizing Problems?
You’ve probably heard "Asian sizing runs small." That’s a real observation, but it’s not a useful one.
The fit gap between Asian factory sizing and Western consumers comes down to three things: fit category, garment type, and target market. A one-size-up rule ignores all three. The real question is whether your factory’s default spec matches the fit your customer expects to feel when they put the garment on.

What the Factory Chart Is Actually Telling You
When a Chinese manufacturer sends you a size chart, those numbers almost always describe the finished garment — not the consumer’s body. This is a fundamental difference from how most Western size charts are written.
A label reading "M = Chest 96cm" means the garment measures 96cm across the chest when laid flat and measured straight across. It does not mean the garment is made for a person with a 96cm chest. Depending on the fabric and fit category, the intended wearer might have a 90cm chest or a 100cm chest.
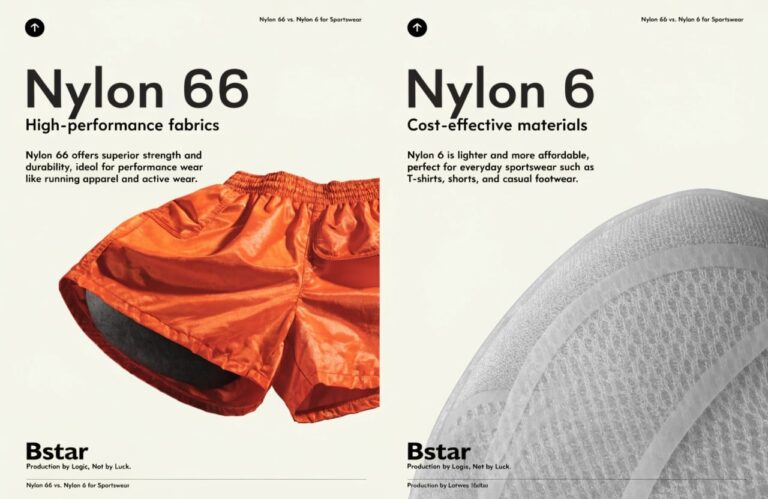
This gap is called ease. It’s the difference between the garment measurement and the body measurement. For woven clothing, ease is usually built in as extra room. For knitwear — which is what we produce at BSTAR — the fabric stretches, so ease can work in either direction. A compression brief might have negative ease on purpose. A relaxed lounge set might have 8–10cm of positive ease.
| Fit Category | Ease Direction | Example Garment |
|---|---|---|
| Compression | Negative (garment smaller than body) | Sports briefs, shapewear |
| Regular fit | Low positive (2–6cm) | Everyday underwear, t-shirts |
| Relaxed fit | High positive (8–15cm) | Loungewear, sleep sets |
If your factory does not know which fit category you are targeting, their default spec is just a guess. A guess that your customers will pay for in returns.
Strategic Grading and Resizing: How Do You Adjust Measurements for the Right Fit?
A lot of first-time buyers come to us after approving a sample and then asking: "So what size label should this be?" That’s the wrong sequence.
The correct order is: brand defines target measurements first, factory produces to that spec, sample is evaluated against the spec, and then the size chart is written from confirmed measurements. Reversing this process — approving a sample first and labeling it later — creates a chart that describes one garment, not a graded size range.

Building a Size Range That Actually Grades Correctly
Grading means the proportional increase or decrease between sizes. Most factories have a default grading rule — for example, adding 4cm to chest and 2cm to length per size step. That default rule was built for their standard customer base, which is likely domestic Chinese retail.
For Western markets, you need to check three things before accepting any factory grade:
1. Are the grade increments right for your target market?
EU, US, and AU consumers have different average body distributions. Reference ranges from published anthropometric studies suggest US women’s chest measurements, for example, average wider than EU equivalents at the same dress size. These are reference ranges, not exact standards — but they matter when you’re deciding whether to keep a factory’s default 4cm chest grade or ask for 5cm.
2. Does the grade apply consistently across all key points of measure?
A common issue we see is a factory grading chest and waist correctly but leaving hip, thigh, or inseam fixed across sizes. For intimate apparel and activewear, this creates a garment that fits the top and not the bottom — or vice versa.
3. Is the grade appropriate for the fabric?
Knitwear stretches. A 4cm grade on a rigid woven fabric is very different from a 4cm grade on a 4-way stretch modal fabric. For stretch knitwear, the usable fit range of each size is wider, which means your grades can sometimes be slightly larger — or you need fewer sizes to cover the same body range.
| Measurement Point | Typical Grade (Woven) | Typical Grade (Stretch Knitwear) |
|---|---|---|
| Chest | 4cm | 3–5cm (stretch compensates) |
| Waist | 4cm | 3–4cm |
| Hip | 4cm | 4–5cm |
| Inseam | 1–2cm | 1–2cm |
| Rise (front/back) | 1cm | 1–1.5cm |
Bring these questions to your factory before sampling starts. A manufacturer who can answer them clearly is one who understands production-to-spec work, not just production.
Standardization and Conversion: How Do You Map Factory Specs to US/EU Size Labels?
Generic CN-to-US-to-EU conversion charts are everywhere online. They also cause a lot of confusion. Here’s why they are not enough on their own.
Conversion charts map label names (S, M, L or US 6, EU 38) to body measurement ranges. But they don’t account for your specific fit category, your fabric’s stretch, or your brand’s intended ease. Using a generic chart without adjusting for those variables is how a brand ends up with an "M" that fits like a small.

What to Do Instead of Relying on a Conversion Table
The goal is not to find the "right" conversion. The goal is to build your own size chart — one that is grounded in your confirmed sample measurements — and then decide which label to put on it.
Here is a simple framework we walk clients through:
Step 1: Confirm your target body measurements. Before sampling, write down the body measurements of your intended fit model or target customer for each size. Use reference ranges from published sources (ASTM, EN 13402, or Size USA data) as a starting point, and adjust for your specific demographic.
Step 2: Add your intended ease. Decide whether each garment is compression, regular, or relaxed. Add or subtract ease from the body measurements to get your target garment measurements (Points of Measure, or POMs).
Step 3: Give the factory your POMs. Do not give them a label and ask them to produce to it. Give them the actual centimeter measurements you want the finished garment to hit.
Step 4: Evaluate the sample against the POMs. When the sample arrives, measure it against your spec sheet. If it’s within tolerance, the size chart writes itself from those numbers.
Step 5: Label it last. Once you have confirmed measurements, choose the label that best matches your target market’s expectations for that body range. This is the only step where a conversion reference is useful.
Visualizing the Fit: What Should a Measurement Guide Include to Reduce Returns?
A size chart with numbers is not the same as a size guide a customer can actually use.
The leading cause of size-related returns is not wrong sizing — it is measurement method mismatch. A customer measuring their chest differently than the brand’s chart assumes will always pick the wrong size. A clear measurement guide closes that gap before the purchase is made.

The Measurement Consistency Problem Nobody Talks About
This is something we raise with clients during pre-production spec review. How you measure "chest" affects everything. Straight across the fullest point? At the underarm? Curved along the body? Each method gives a different number — sometimes by 2–4cm.
If your size chart was built using a straight-across garment measurement, but your customer is measuring their own body using a curved tape, the numbers will not align. They will pick the wrong size. They will return it.
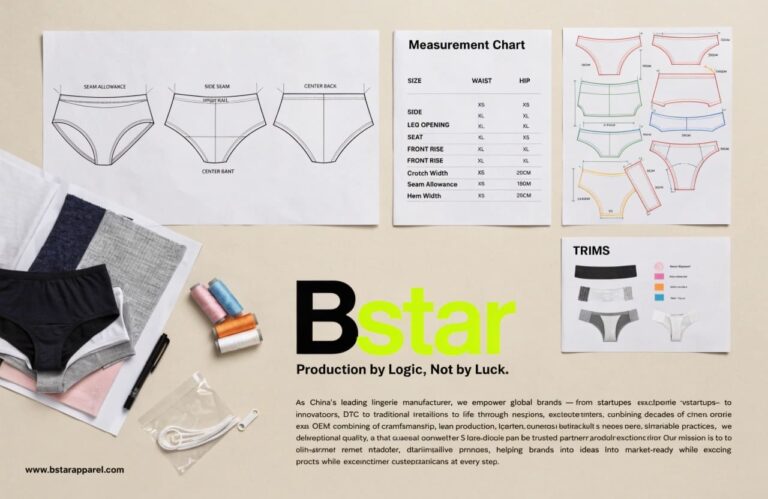
Here is what a usable measurement guide needs to include:
| Element | Why It Matters |
|---|---|
| Illustrated measurement points | Shows exactly where on the body to measure |
| Measurement method (straight vs. curved) | Eliminates method mismatch |
| "How to choose your size" guidance | Addresses fit preference (tighter vs. looser) |
| Garment measurement vs. body measurement clarity | Removes the biggest source of confusion |
| Fit model reference (height, weight, size worn) | Gives customers a human benchmark |
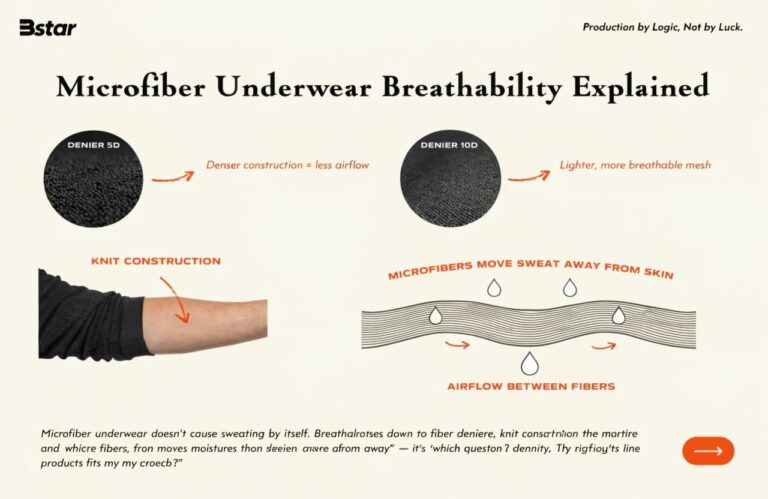
One thing we recommend: if your garment is knitwear with significant stretch, include a note explaining that the garment measurement will look smaller than the customer’s body measurement — and that this is by design. Without that note, a customer seeing "M = Chest 86cm" when their own chest is 92cm will not buy the medium. They should. But they won’t without the explanation.
Conclusion
Adapting Asian sizing for Western markets starts before sampling — not after. Define your fit intent, confirm measurement methods, and lead the conversation with your factory. That’s how returns go down.